Step-by-Step Guide: Setting Up a Temporary Storage Solution for Construction Projects
Introduction: Why Temporary Storage Matters on Construction Sites
Every construction project, whether a small-scale renovation or a sprawling multi-phase build, comes with unique logistical challenges. Among the most overlooked—but absolutely vital—components is an effective temporary storage solution. Construction sites are dynamic environments: materials arrive at different times, tools need to be protected from theft and the elements, and compliance with safety standards is non-negotiable. Without a well-planned storage setup, projects risk costly delays, damaged goods, safety incidents, and even regulatory fines. This guide presents a comprehensive, step-by-step approach to establishing a temporary storage solution tailored specifically to construction projects. From early site assessment to equipment selection, security protocols, and ongoing maintenance, we’ll cover practical, actionable strategies that help contractors, project managers, and site supervisors keep operations organized, efficient, and safe.
Step 1: Site Assessment and Storage Needs Analysis
Understanding Project Scope and Timeline
Begin by mapping out the full scope of your construction project. Key variables include project duration, the size and value of materials and tools, the number of workers onsite, and the delivery schedule for equipment and supplies. Short-term projects may only require basic solutions, while long-running or complex builds will need more robust, scalable options.
Inventory Requirements
Create a detailed inventory list of items that will need secure, weather-protected storage. Common categories include:
- Building materials (lumber, steel, piping, drywall, etc.)
- Power tools and hand tools
- Personal protective equipment (PPE)
- Site documentation and electronics
- Hazardous or temperature-sensitive materials
Space Planning
Survey the site to identify level, accessible ground where storage units can be safely placed without interfering with construction activities, emergency access, or traffic flow. Consider proximity to work zones to minimize material handling time and risk.
Step 2: Selecting the Right Temporary Storage Solution
Types of Temporary Storage Units
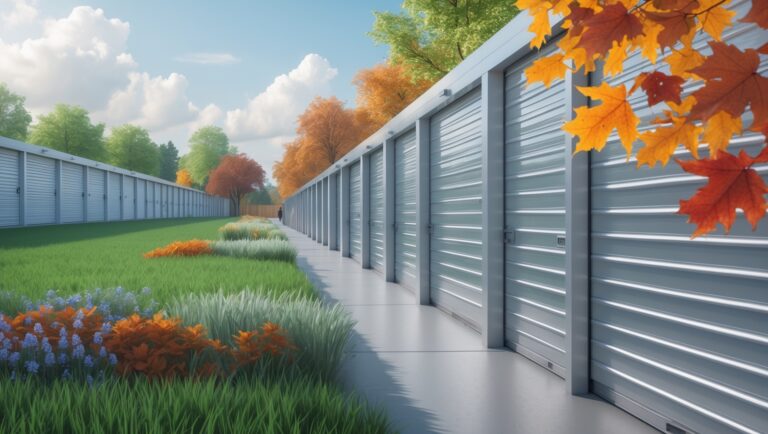
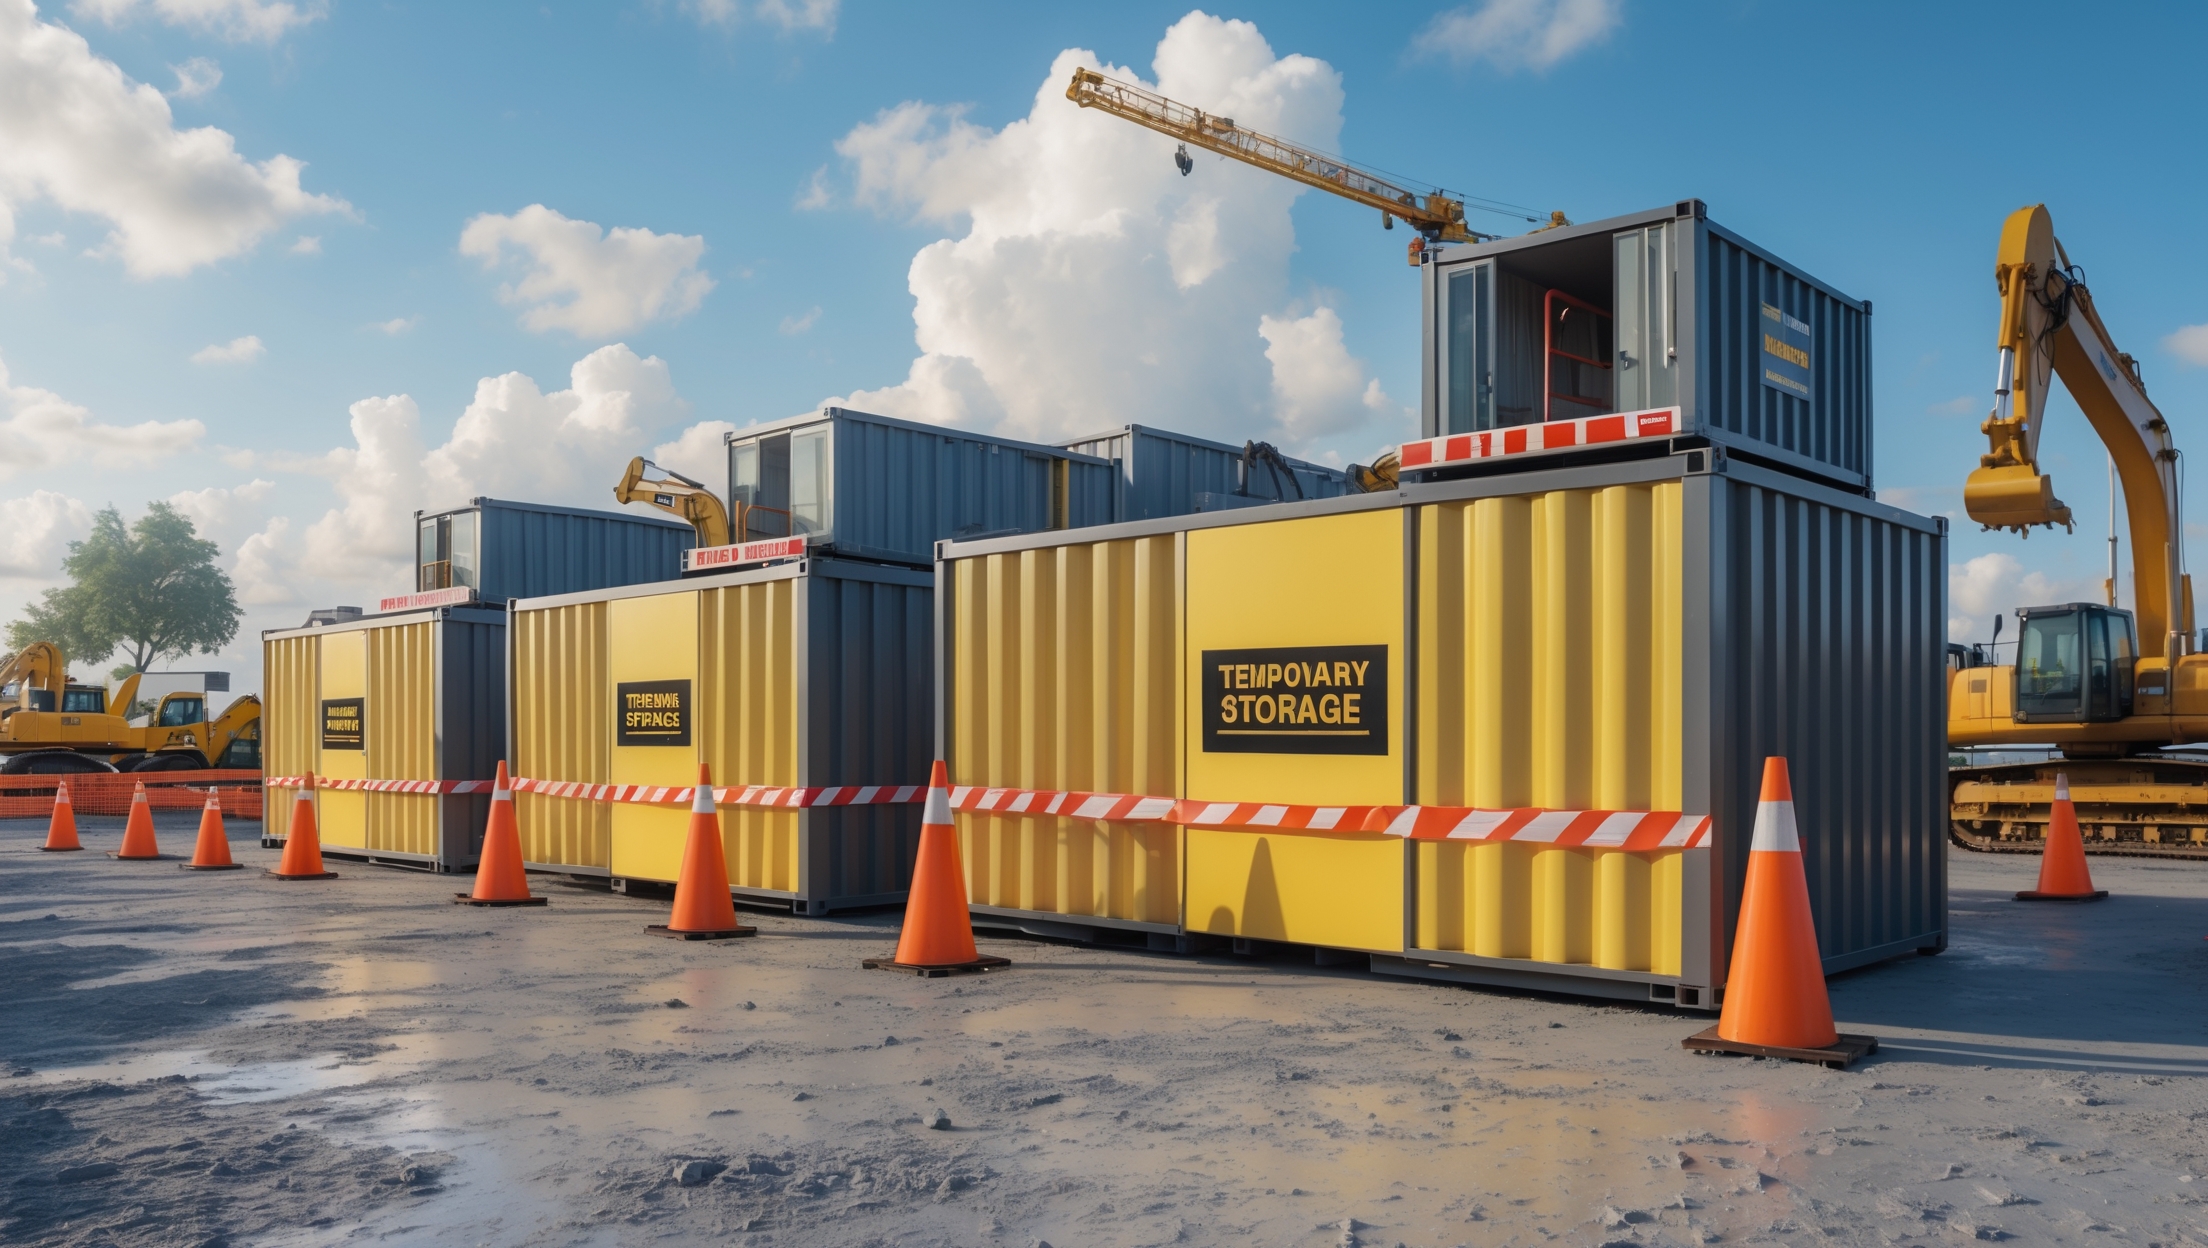
- Portable Storage Containers: Shipping containers (20’ or 40’) are the most common choice due to their durability, security, and weather resistance. Suitable for most construction storage needs.
- Mobile Storage Trailers: Ideal for tools and equipment that need frequent access or relocation around a large site.
- Canopy or Tent Shelters: Useful for storing large materials or equipment that aren’t as vulnerable to weather, but less secure against theft.
- Modular Lockers and Cabinets: For small tools, electronics, or personal items requiring extra security.
- HazMat Storage Lockers: Essential for chemicals, paints, and flammables, often required by regulation.
Evaluating Capacity and Scalability
Choose units based on your inventory analysis, but plan for 20% more capacity than your initial estimate to accommodate unexpected deliveries or project changes.
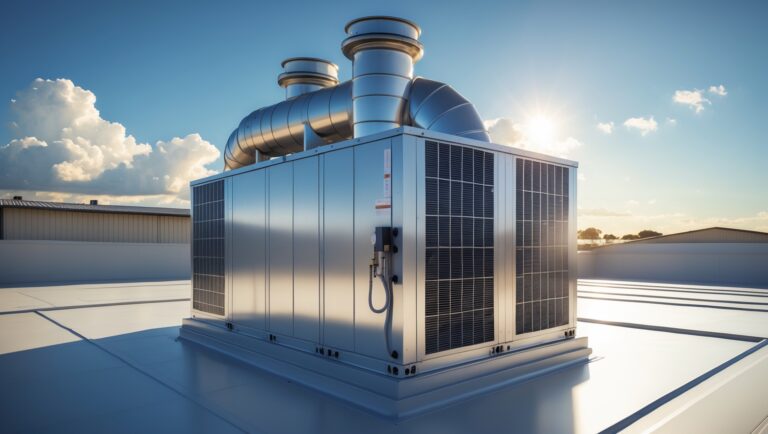
Weatherproofing and Insulation
For sites exposed to extreme temperatures or precipitation, select containers with built-in insulation, ventilation, or climate control. Add tarpaulins, pallets, or desiccant packs as needed to control moisture and prevent damage.
Step 3: Compliance and Permitting Considerations
Local Regulations and Zoning
Contact your municipal building department before placing any temporary storage unit onsite. Permits may be required for containers over a certain size, or for any storage near public roads or neighboring properties.
Fire Codes and Hazardous Material Storage
Adhere strictly to fire safety codes, especially when storing flammable or hazardous materials. This may dictate container placement, required labeling, ventilation standards, and distance from permanent structures or site boundaries.
Accessibility and ADA Compliance
If your site requires public or worker access to storage units, ensure paths and doors are wide enough for wheelchairs and free from obstructions, in compliance with the Americans with Disabilities Act (ADA) or local equivalents.
Step 4: Logistics and Placement Strategy
Optimal Placement
Position storage units to streamline workflow:
- Close to loading/unloading areas
- Adjacent to main work zones, but away from heavy traffic or machinery paths
- With sufficient clearance for doors to open fully and safe pedestrian access
Ground Preparation
Level and compact the ground before delivery. Use concrete pads, wooden sleepers, or heavy-duty mats to prevent containers from sinking or shifting, especially on soft or uneven terrain.
Signage and Organization
Clearly label all storage units with contents, access restrictions, and emergency contact information. Use color-coded labels or signs for fast identification, particularly for hazardous or restricted items.
Step 5: Security Protocols
Physical Security Measures
- High-security padlocks or disc locks
- Lockboxes or shrouds to prevent cutting or tampering
- Reinforced doors and hinges
- Perimeter fencing or security barriers, especially after hours
Electronic Security Enhancements
- Battery-powered motion sensor lights
- Wireless security cameras with remote monitoring
- Alarm systems (standalone or integrated with site security)
Access Control and Protocols
Maintain a sign-in/out log for all personnel accessing storage units. Issue keys or access codes only to authorized employees. Change locks or codes immediately if keys are lost or staff leave the project.
Step 6: Organizing the Interior for Maximum Efficiency
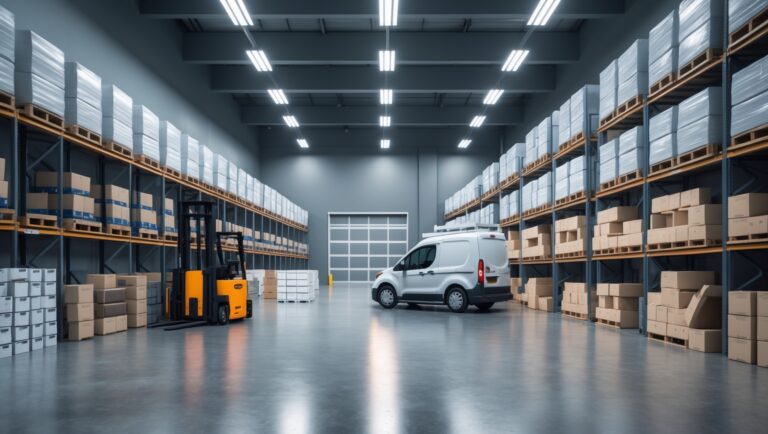
Shelving and Racking
Install heavy-duty shelving, racks, or modular bins to maximize vertical space and keep materials off the floor. This helps prevent water damage and keeps aisles clear.
Tool Storage and Inventory Management
Use lockable tool chests, pegboards, or shadow boards for organizing tools. Implement a digital or manual inventory system to track tool checkouts and returns, reducing loss and theft.
Material Segregation
Separate hazardous materials, high-value items, and commonly used supplies into designated zones within the container. Use physical barriers or locked cabinets where necessary.
Step 7: Maintenance and Safety Practices
Weekly Inspections
Designate a staff member to inspect all storage units weekly for signs of damage, leaks, mold, or pest intrusion. Document findings and address any issues immediately.
Housekeeping Routines
- Keep aisles clear and remove debris daily
- Store heavier items on lower shelves for safety
- Check for expired or leaking chemicals regularly
Weather and Seasonal Adjustments
In wet or cold seasons, check door seals, add desiccants, and increase ventilation as needed. In hot climates, shade containers or use portable fans to prevent overheating of sensitive materials.
Step 8: Dismantling and Site Restoration
Final Inventory and Cleanout
Before project completion, conduct a full inventory to ensure all tools and materials are accounted for. Remove all items, sweep out containers, and dispose of or recycle any waste materials according to local regulations.
Container Removal and Site Repairs
Arrange for pickup of rental containers or storage units. Inspect the ground for any damage caused by containers and restore affected areas—fill ruts, reseed grass, or repair pavement as necessary.
Documentation and Lessons Learned
Document the storage setup process, challenges encountered, and best practices for future projects. Solicit feedback from site staff to improve efficiency and safety in subsequent builds.
Common Pitfalls and How to Avoid Them
- Underestimating Space Needs: Always round up storage capacity. Overstocking containers leads to clutter, damage, and safety hazards.
- Neglecting Permitting: Failing to secure necessary permits can result in fines or forced removal of storage units.
- Poor Access Planning: Containers placed too far from work zones increase handling time and risk of injury.
- Inadequate Security: Theft is a major risk on construction sites; invest in robust physical and electronic security from day one.
- Ignoring Maintenance: Small leaks or pest issues can escalate quickly; establish regular inspection routines.
Conclusion: Building Efficiency, Safety, and Savings with Smart Temporary Storage
An effective temporary storage solution is a cornerstone of successful construction project management. By investing time in upfront planning—thoroughly assessing needs, selecting the right units, complying with regulations, and implementing robust organizational and security measures—contractors can safeguard valuable assets, reduce downtime, and minimize costly errors. Ongoing maintenance and clear access protocols further ensure that tools and materials are always ready and available, empowering your crew to stay focused on the build rather than chasing missing equipment or cleaning up preventable messes.
Every project is different, and the best temporary storage setups are those tailored to the unique demands of your site, timeline, and workforce. By following the step-by-step approach outlined in this guide, you’ll not only protect your bottom line but also foster a safer, more efficient, and more professional work environment. Use these strategies as a blueprint for your next construction project, and turn storage from a headache into a strategic asset that drives project success.