Seasonal Storage Swaps: A Step-by-Step Guide to Rotating Stored Items Efficiently
Introduction: Why Seasonal Storage Swaps Matter
Whether you’re an avid adventurer, a growing family, or simply someone who loves to keep your space organized, seasonal storage swaps can make a huge impact on your efficiency and peace of mind. As each season brings its own activities and needs, many of us find ourselves with items we only use for part of the year—think winter coats, ski equipment, patio furniture, or holiday decorations. Keeping these items at home year-round quickly leads to clutter, but simply tossing them into a storage unit without a plan can waste space, time, and even damage your belongings. A well-executed seasonal storage swap not only protects your items, but also saves you countless hours and headaches each year. In this guide, we’ll walk you through the exact process for rotating stored items with maximum efficiency—ensuring your storage stays organized, your possessions are protected, and you can always find what you need, when you need it.
Understanding the Benefits of Seasonal Storage Rotation
Before jumping into the how-to, it’s important to understand the advantages of a planned seasonal swap. This approach offers several key benefits:
- Space Optimization: By rotating items in and out of storage based on the season, you keep only what you need at home, freeing up valuable closet or garage space.
- Item Protection: Properly storing off-season items reduces wear and tear, prevents accidental damage, and shields sensitive belongings from environmental harm.
- Time Savings: A systematic swap means less time searching for items, less stress, and an easier transition between seasons.
- Inventory Control: Seasonal swaps are the perfect opportunity to take stock of what you own, declutter, and donate or discard unused items.
Step 1: Plan Your Seasonal Swaps Ahead
Establish a Rotation Schedule
The key to a successful seasonal storage swap is advanced planning. For most households, two main swaps per year—spring/summer and fall/winter—are sufficient. However, you may adjust your timing based on your location, climate, and lifestyle needs. Mark your calendar to remind yourself a few weeks before each change of season.
Identify Items to Rotate
Start by listing the items you use exclusively during certain seasons. Common examples include:
- Winter: Heavy coats, boots, snow gear, holiday decorations, snow blowers, winter sports equipment.
- Spring/Summer: Patio furniture, gardening tools, summer clothing, camping gear, bikes, beach accessories.
Include any other items, like specialty kitchenware or seasonal crafts, which could benefit from storage rotation.
Step 2: Prepare Items for Storage
Clean and Inspect Everything
Never store dirty or damp items. Clean clothing, equipment, and furniture thoroughly to prevent mold, mildew, and pests. Inspect electronics and appliances for damage, and replace batteries if needed. Make note of any repairs or replacements to address next season.
Choose the Right Storage Containers
Use containers suitable for the items you’re storing. For clothing and linens, opt for clear plastic bins with tight-fitting lids. For fragile items, use padded boxes or specialty containers. Avoid cardboard for long-term storage in humid climates.
Label Everything Clearly
Invest in a label maker or use large, waterproof labels to identify contents by category and season (e.g., “Winter Clothes – 2024”). Consider using color-coded labels for quick visual reference—blue for winter, green for summer, etc. This small step saves hours later.
Step 3: Organize Your Storage Unit for Easy Swapping
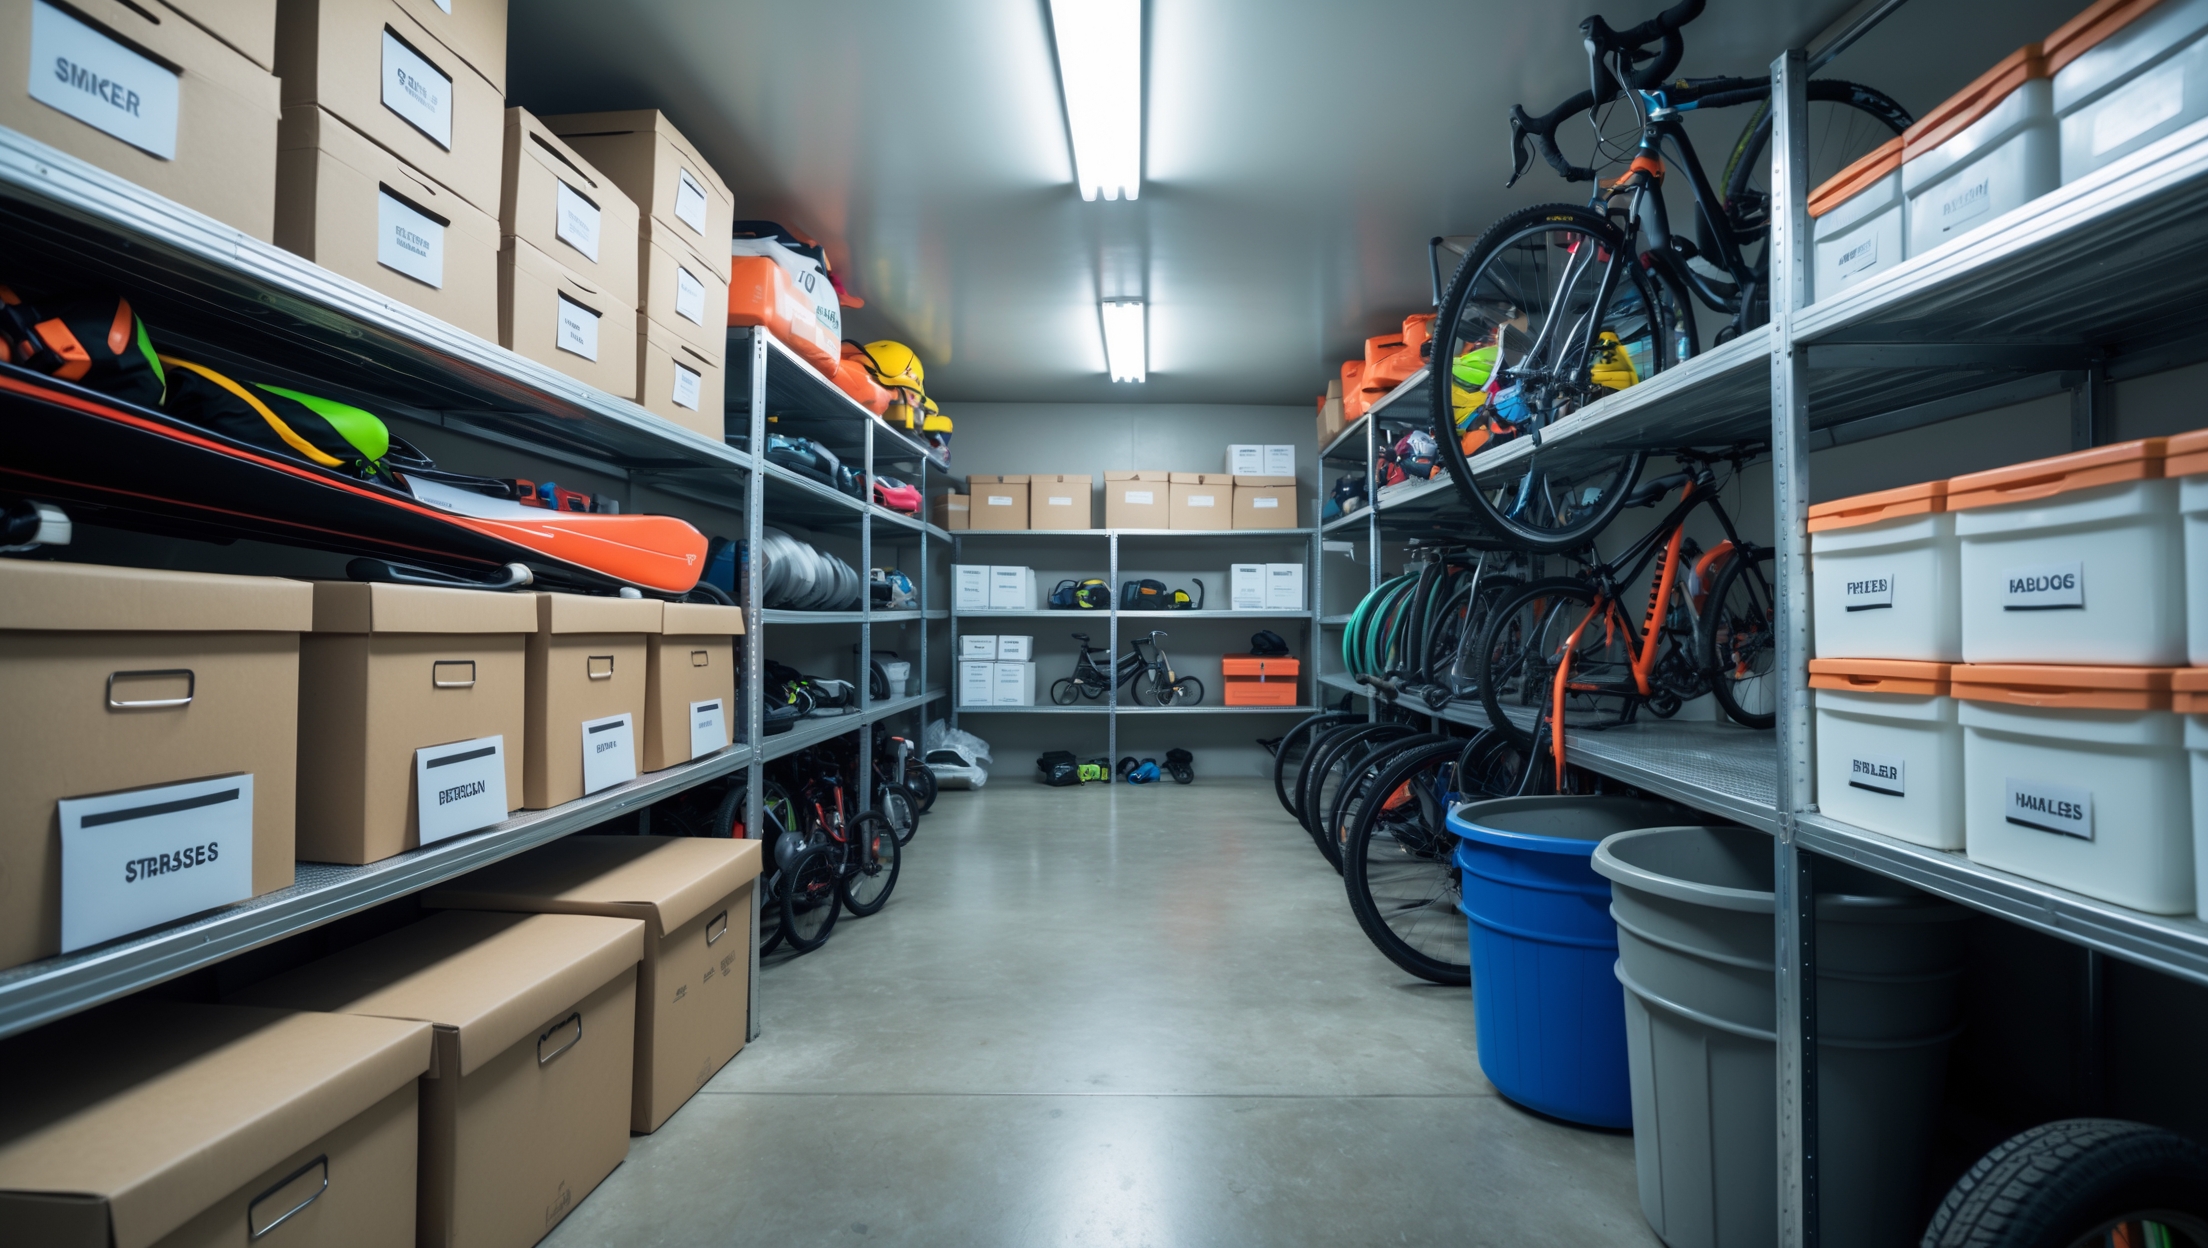
Strategic Layout and Zoning
Divide your storage unit into zones for each season. Place current season items toward the front for easy access, and off-season items toward the back or on higher shelves. If space allows, use free-standing shelving units to further separate and elevate boxes.
Create a Storage Map
Draw a simple map of your unit’s layout, noting the location of each seasonal zone. Keep a copy on your phone or in a folder at the front of your unit. This is especially helpful for larger units or shared spaces.
Keep Aisles Clear
Leave enough room to walk and move boxes safely. Resist the urge to stack items too high or block access to the back of the unit. If possible, leave a center aisle so you can reach all items with minimal effort.
Step 4: Execute the Seasonal Swap
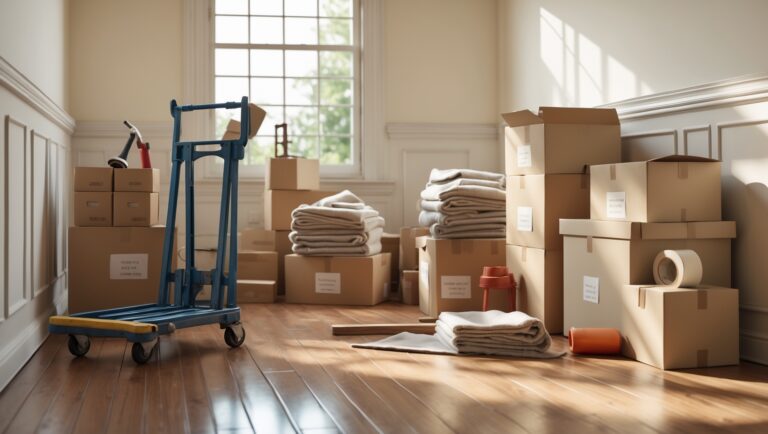
Gather Supplies and Helpers
Before heading to your storage unit, gather cleaning supplies, fresh labels, and a moving dolly if available. Enlist a family member or friend to help with lifting and organizing—swaps go much faster with an extra set of hands.
Remove, Review, and Replace
- Remove: Take out the items you need for the upcoming season. Lay them out at home for inspection.
- Review: Check each item for damage, missing parts, or wear. Clean and repair as needed.
- Replace: Pack up the previous season’s items, making sure they’re clean and fully dry before storing.
As you swap, update your inventory list and make note of any items that need to be replaced or donated.
Step 5: Inventory Management and Documentation
Maintain a Digital Inventory
Use a spreadsheet or home inventory app to track what’s in storage. Include item descriptions, box numbers, and even photos for quick identification. Update your inventory with each swap.
Attach Inventories to Boxes
For each bin or box, tape a printed inventory sheet inside the lid or on the outside. This helps you find specific items without opening every container.
Step 6: Protecting Items Year-Round
Climate Control Considerations
If you’re storing items sensitive to heat, cold, or humidity (like electronics, musical instruments, or leather goods), consider a climate-controlled storage unit. This is especially important for regions with extreme seasonal shifts.
Pest Prevention Tips
- Avoid storing food or scented items that attract pests.
- Seal bins tightly and use cedar blocks or pest deterrent sachets.
- Inspect your unit each season for signs of pests or moisture, and notify facility management of any issues immediately.
Insurance and Documentation
Check that your stored items are covered by your insurance policy. Update your provider with any major changes in stored inventory. Keep digital records of purchase receipts for high-value items as proof for claims.
Step 7: Decluttering and Donation
Each seasonal swap is the perfect time to declutter. If you haven’t used an item in over a year, consider donating or selling it. Organize donation piles as you unpack, and schedule pickups or drop-offs within a week to avoid clutter creeping back in.
Advanced Tips for Families and Frequent Movers
Family Coordination
Assign each family member a color code or section within the unit. Keep a master inventory that everyone can access via a shared cloud document. Host a quick family meeting before each swap to review what stays, goes, or needs replacing.
Frequent Relocation Strategies
If you move often for work or school, keep essential items in easy-to-access bins at the front of your unit. Group portable items together and use rolling containers when possible. Consider modular shelving systems that can be quickly disassembled and moved.
Common Mistakes in Seasonal Storage Swaps—and How to Avoid Them
- Storing Unwashed Items: Always wash clothes and clean equipment before storing to prevent odors and pests.
- Poor Labeling: Generic or missing labels lead to confusion. Always use clear, descriptive labels.
- Overpacking: Don’t stuff boxes or bins beyond capacity—this can cause damage and make lifting dangerous.
- Ignoring Inventory: Without a current inventory, items get lost or forgotten. Update your list every swap.
- Neglecting Insurance: Don’t assume your homeowner’s policy covers storage. Check with your provider for specifics.
Conclusion: Make Every Season Smoother with Smart Storage Swaps
Mastering the art of the seasonal storage swap is about more than just keeping your home tidy; it’s about reclaiming your time, protecting your belongings, and reducing the mental clutter that comes from disorganization. By following these practical steps—planning ahead, prepping and labeling items, organizing your storage layout, and maintaining a robust inventory—you’ll find that each seasonal transition becomes less of a chore and more of a streamlined routine. You’ll spend less time hunting for that elusive holiday decoration or favorite pair of boots, and more time enjoying the activities each season brings. Over time, this system encourages you to declutter, invest in quality storage solutions, and stay mindful about what you keep. Whether you’re managing a growing family, living in a small apartment, or just looking to make life a little simpler, efficient seasonal storage swaps can transform the way you use your space. Start planning your next swap today, and reap the benefits all year long!